
menu

Wondering if Pinterest pin designs actually matters for lifestyle bloggers or if you can get away with just auto-publishing from Instagram to Pinterest instead? I feel like everyone has been talking about the seemingly-helpful auto-publish from Pinterest toggle for the last month. Unfortunately, a Pinterest strategy for bloggers that actually works requires a lot more effort, including strategic pin design.
While yes, you can and should post your outfit photos/blog photography, you should also be creating pins with text overlay. These can be made for each individual post, or you can make Pinterest pin templates to reuse for each blog post. The latter is the easier route and likely sufficient for a DIY pinner like yourself!
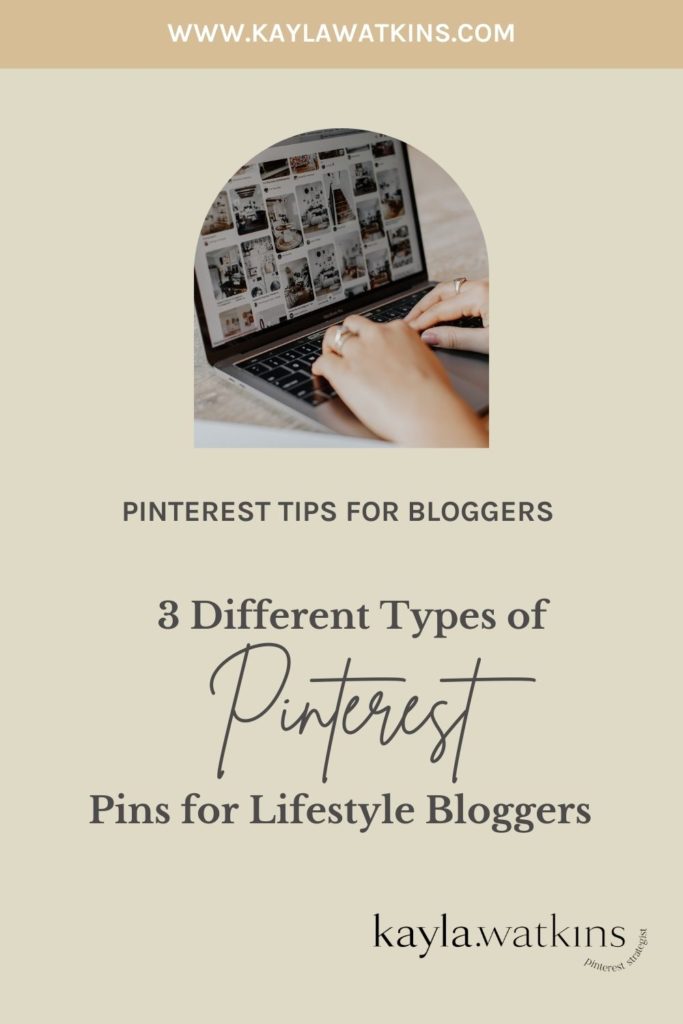
When it comes to the type of designs to create for your lifestyle blog content, I’ve got 3 must-try Pinterest Pin designs. I’ll explain why these pin designs are effective for both you and pinners. I’ll also share how to make these pin designs inside of Canva (my preferred Pin design program).
Please note: these aren’t the only Pin design formats you need in your Pin template suite. These are just 3 pin template types that I typically use for lifestyle bloggers
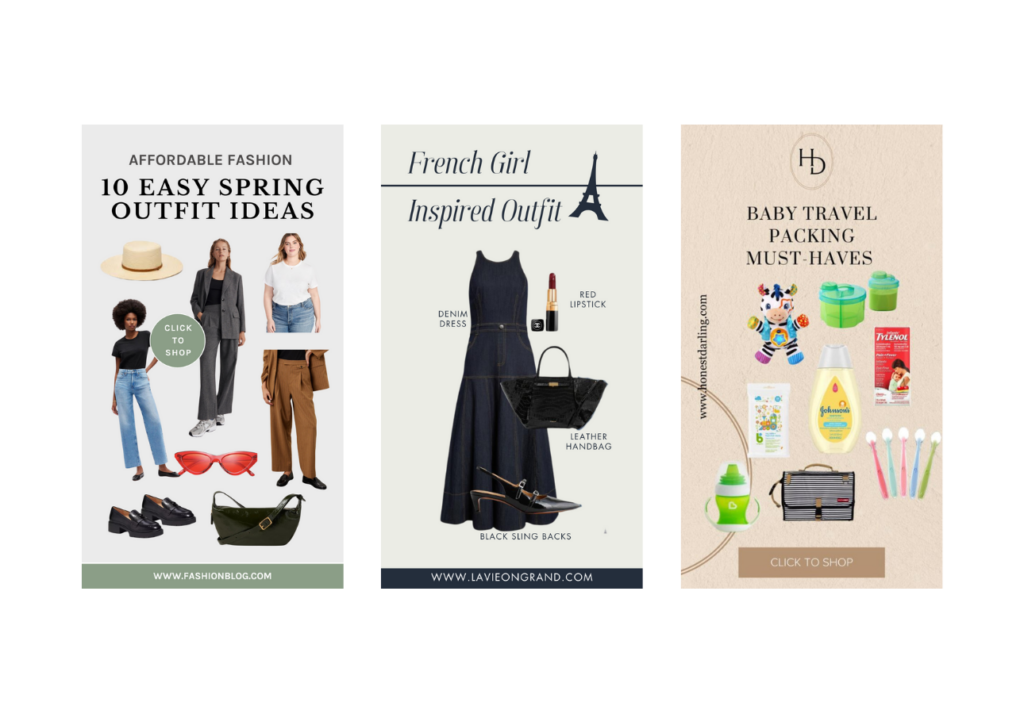
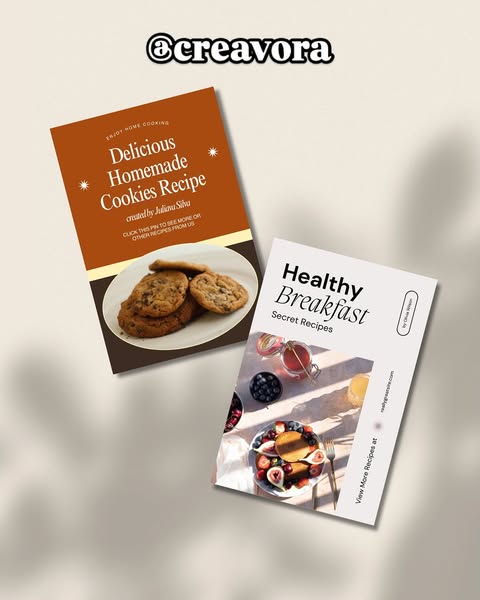
A product round up pin is a great option for lifestyle bloggers who share a lot of affiliate links within a blog post. I always prefer you link from Pinterest to your blog BUT technically, these can link to an LTK list or photo as well.
Bonus Tip: Read this blog post to learn how to create LTK and Pinterest content simultaneously.
Start by creating a Pinterest Pin (a canvas they already have available at the standard pin size of 1500 X 1000 px). or you can even start with this product round up Canva pin template. If you go with the Canva template, you’re going to want to

Download or drag all of the affiliate link product images from the blog post you will be promoting on Pinterest onto your desktop. If possible, choose the affiliate image that’s just of the product (not on a model) and/or with the most simple background. This just helps Canva more accurately remove the background in the subsequent steps.

Upload these files to your Canva.

Add your first product to your pin template and then select “BG Remover.”

Resize and reposition the product to put it where you’d like it on the graphic.

Repeat for the remaining products. Resize, rotate and move to make them fit well.

Optional (but may perform well for you, and is worth testing!): Add in text that describes each of the products. More keywords for Pinterest to read to better understand the contents of your Pin and blog post it links to.
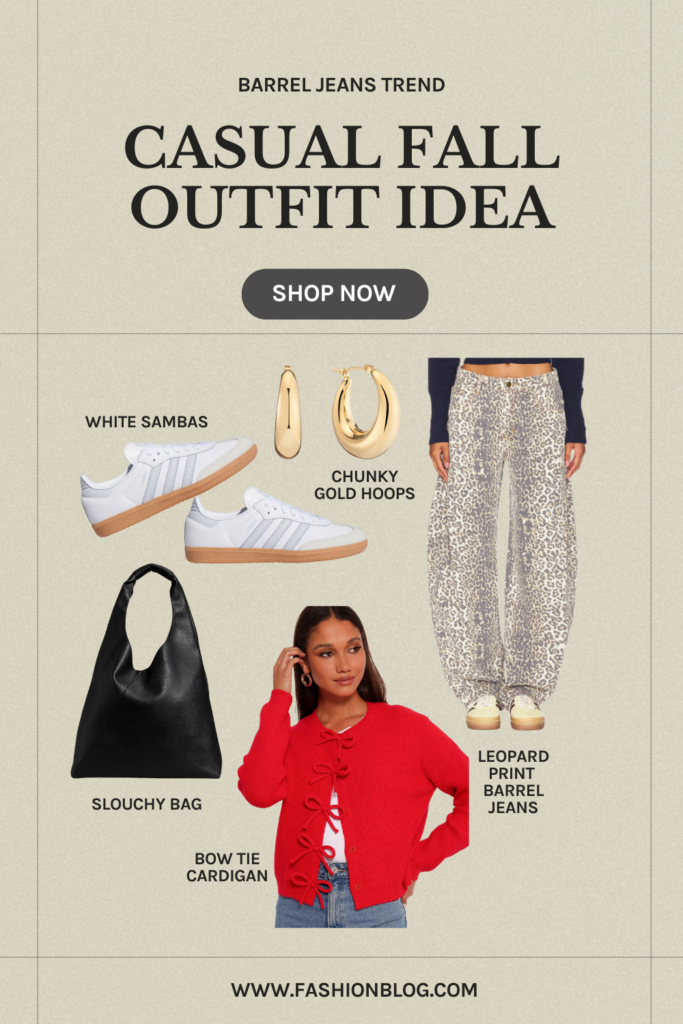
Don’t forget to add a call to action and some branding or your website to the pin as well! These are important for creating Pinterest pins that convert.
What I mean by this is mostly text pins. These don’t work for every niche, but I’ve had some great success with these in the past for clients that have very visual content. When I say “text overlay pins,” I mean large text with no photo or an almost transparent background image. These really make the text, pin hook and keywords the most important part of the pin.
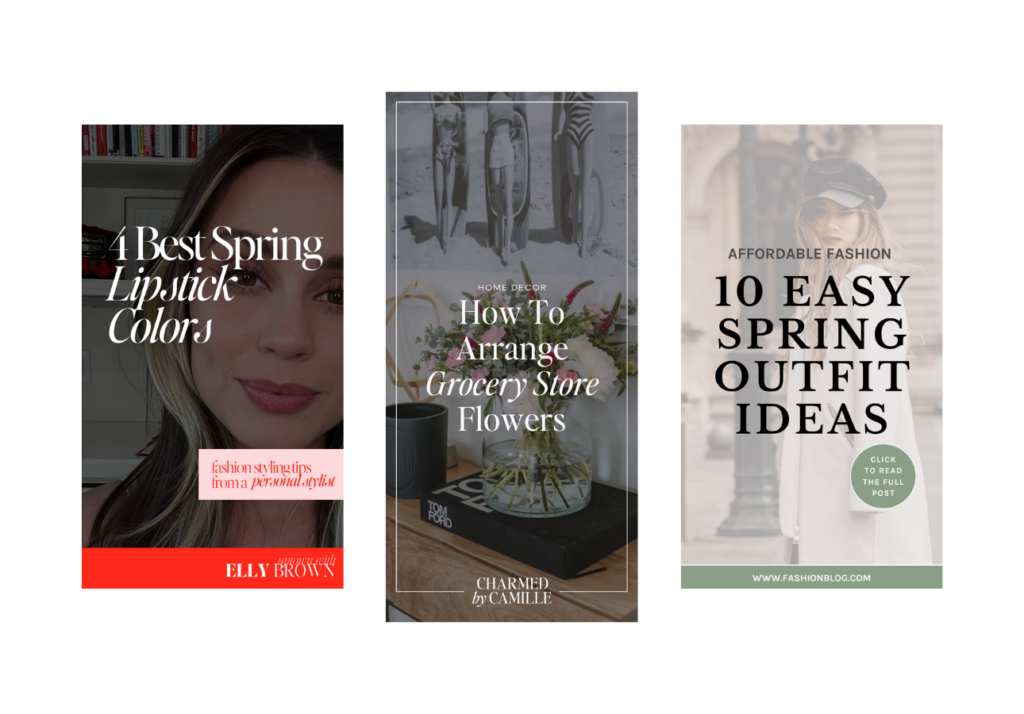
You’ll start much like you started with the product pin (with the Canva pin blank OR Canva pin template). Type out your text and place in the middle of the graphic. You want to make sure this text is a true hook: it’s enticing for pinners to click on because they know they can get more info from clicking than just saving. These are better served with words like “how to,” “tutorial” and with numbered lists that point to the fact that a lot of ground is covered in the blog post.
And make sure that the background color is one you like and on brand because that will peak through later!

For this graphic, I’m going to use a stock photo in the background. You can also use the upload photo directions above to add your own photo to the back. Head to “elements” and then “photos” before typing in what you want the backdrop photo to be.
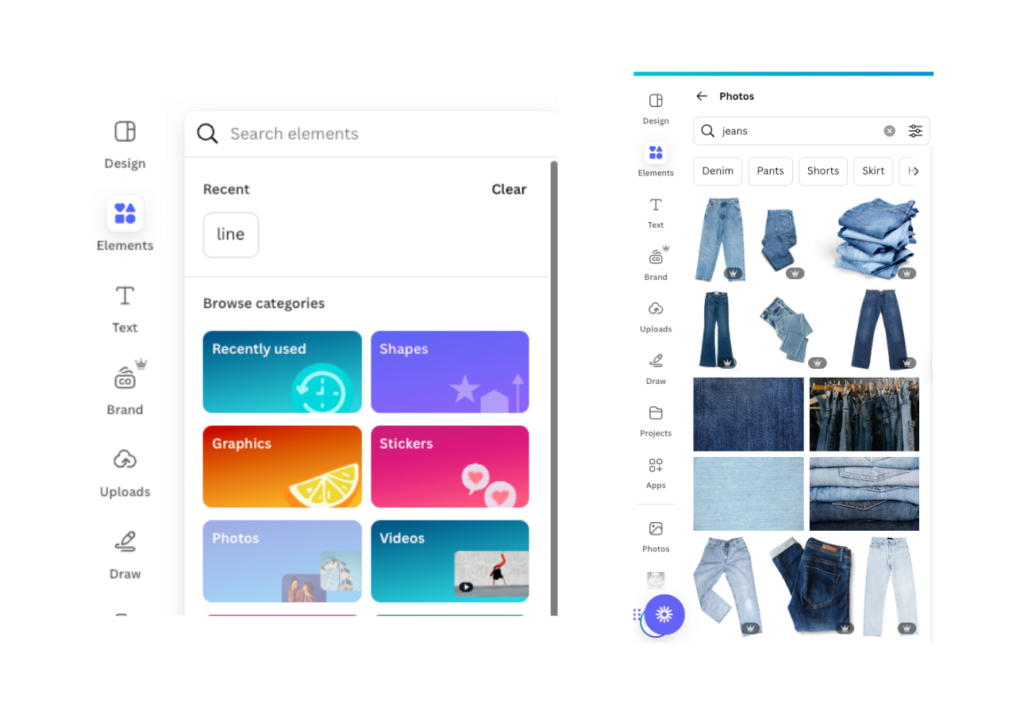
Add the photo in and scale to make fit the entirety of the graphic. Then go to the menu for “position” and then arrange “to back.”

Edit the transparency on the photo until you can easily read the text on it. Feel free to adjust text color or background color at this point.

Make main text bigger at this point so it takes up more real estate on your pin. You can also add some subtext with more context and Pinterest SEO-friendly keywords.
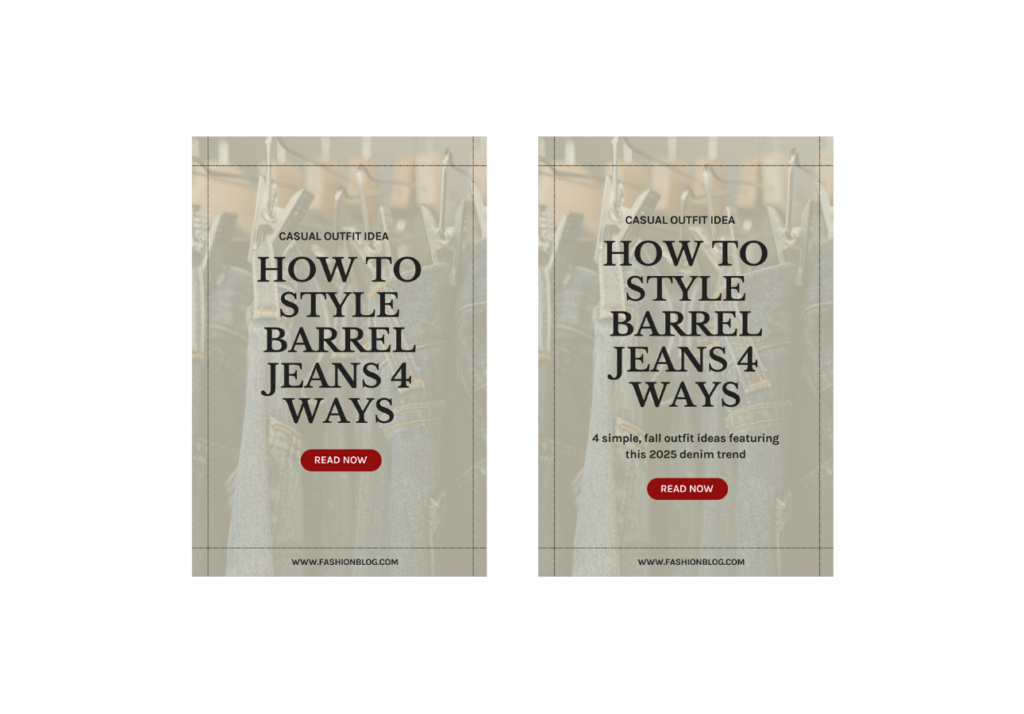
Optional: Add an outline to your pin graphic’s main text/hook so that it’s easier to read, depending on your backdrop.

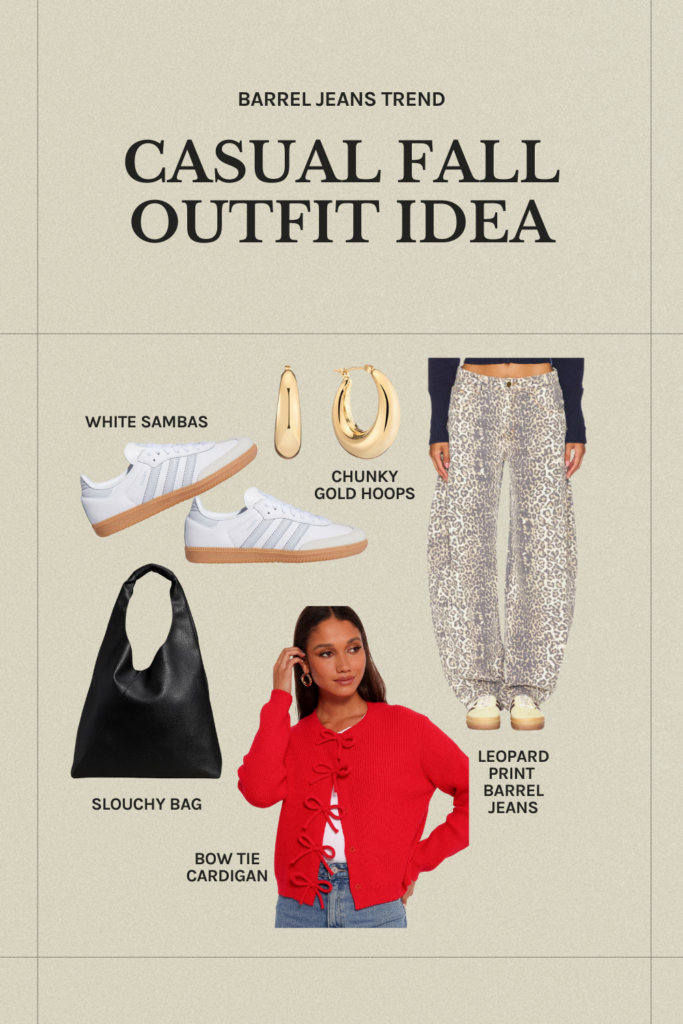
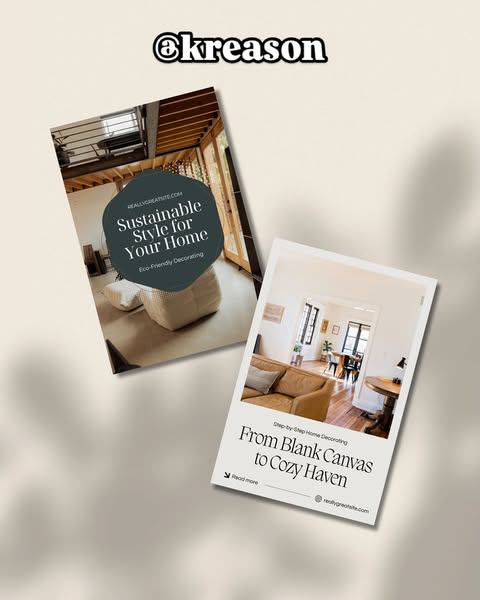
This is a pin graphic with… multiple photos of course! I love making these for so many reasons, but they really tend to do well especially in a longer pin size.
I would start this one with a long pin template or base in Canva. The dimensions you can type in, if you want to start from scratch, are 900px X 1600px. Move all your text to the middle.

I like to add in my photos and resize to be the exact frame I need rather than creating a frame first. So I just upload the photos I want to use and add them to pin.
Reminder that if you have 4 outfits, I’d put only 2 of them in the graphic… if you have 8 outfits, you could put 4 of them in the graphic. Tease the content to give them a reason to click through!

The limit does not exist! I recommend people start with a Bare Pinimum of 3 pin graphic designs per blog post, but once it’s published with the 3 pin graphic designs and any vertical photos… you can make more pin templates to promote that blog post again. This can mean slight edits to your original templates (i.e. change the text, swap out photos, change the background color, etc.) or a whole new format.
I also think testing multiple styles is huge. I have data to back up these 3 Pinterest pin designs from testing them out with several Pinterest management blogger clients. That’s how you find out what works: run A/B tests (make just one variable in the pin design different) and see what makes it to the top of your Pinterest Pin analytics.
I’m a Canva user. It’s incredibly intuitive and affordable. The template designs are extensive… I love it. Here are some Canva pin template designers that I liked to help you narrow down your search for a starting point to designing pins.


I like to share all posts with the original set of pin templates for 3 months and then peak into my clients’ analytics to see how they’re performing. Are they starting to make headway to getting onto the top pins for outbound clicks list? Are certain pin designs performing significantly better than others? I take a hard look at this to see what pin formats to ditch and which to design similar styles too for my next batch of pin templates.
For example, if the multiple photo pin designs did well, can I create more templates with more or less photos? Or if the text overlay pins did well, what hooks or pin graphic phrasings worked best? Are all the “how to style” text overlay pins crushing it or is it the roundups like “8 ways to wear?”
Do more of what works and less of what doesn’t!
Update your entire suite only if nothing is performing after 6 months OR you switch your branding.
If you’re interested in having someone create your Pin design suite for you, that’s something we offer inside of our Pinterest strategy services OR as a separate service (just email me at info@kaylawatkins.com).


